Set Up Your Device
-

4G Mobile Phone Configuration Simple Procedure
Dear customers,
Please follow the nine easy steps to help you configure your APN (Access Point Name) on your mobile phone in order to enable your registration on InterC Network4G Mobile Handset:
Step 1: Pre-requisite:
- Ensure InterC Network service is available
- Ensure the SIM is provisioned on InterC Network
- Ensure the mobile phone is 4G enabled
Step 2: Locate the Sim compartment and correctly insert the SIM and power on the Mobile.
Step 3: Go to Settings and click on the icon as indicated below:
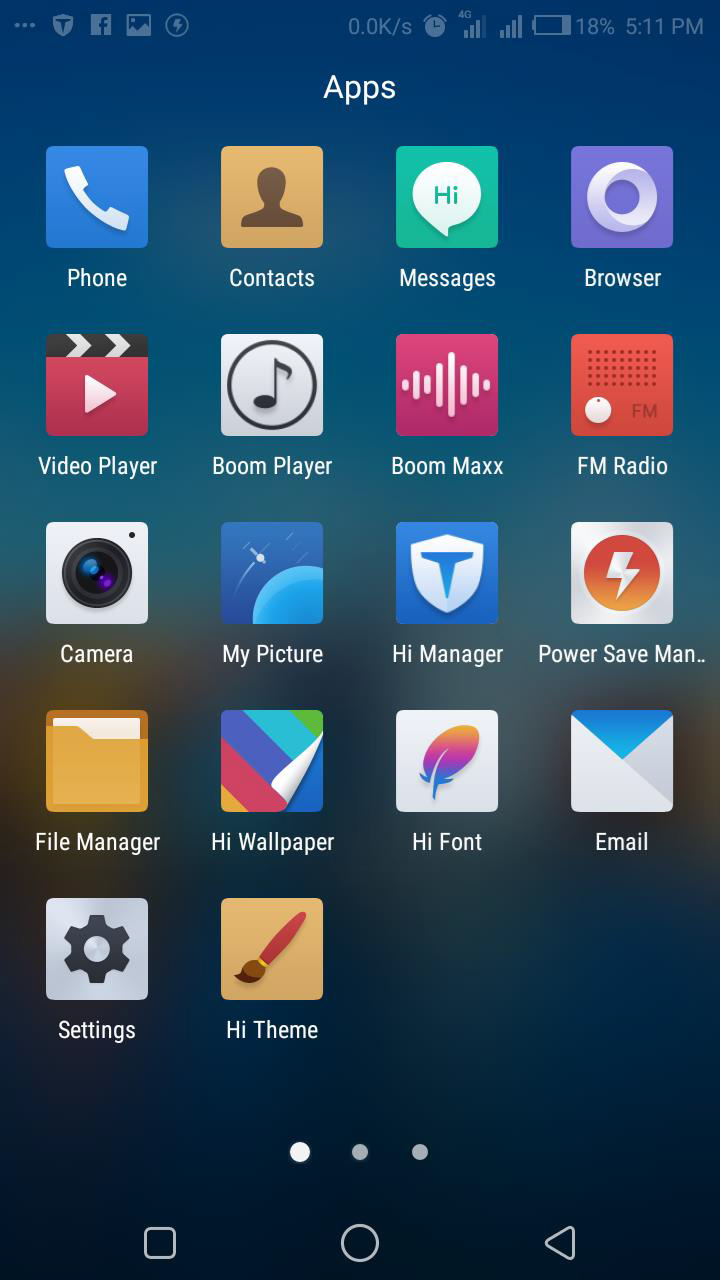
Step 4: In the Setting, click on more network as indicated below:
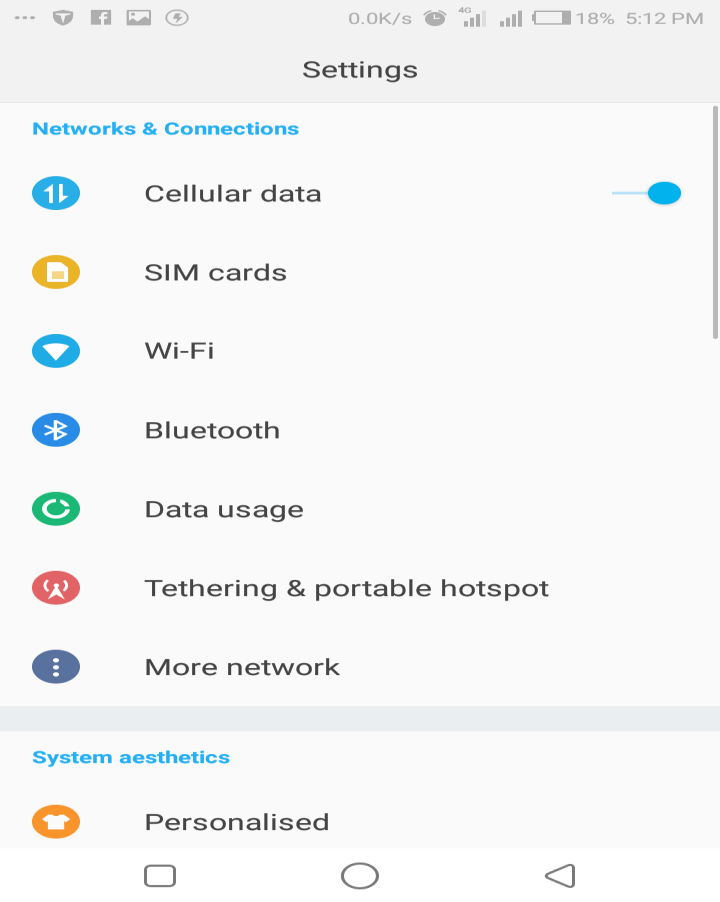
Step 5: Then click on Cellular networks as indicated below:
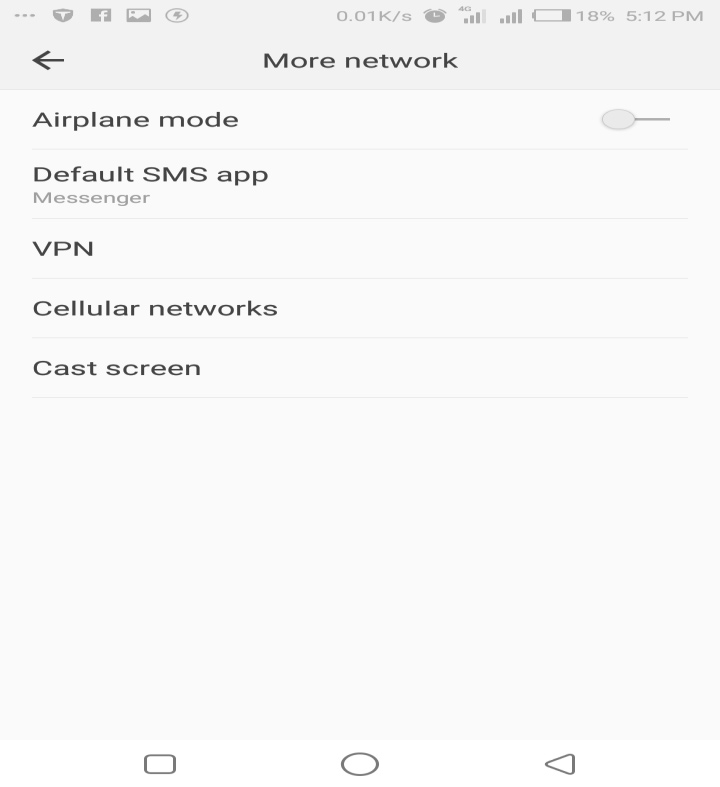
Step 6: The Cellular network settings is illustrated below:
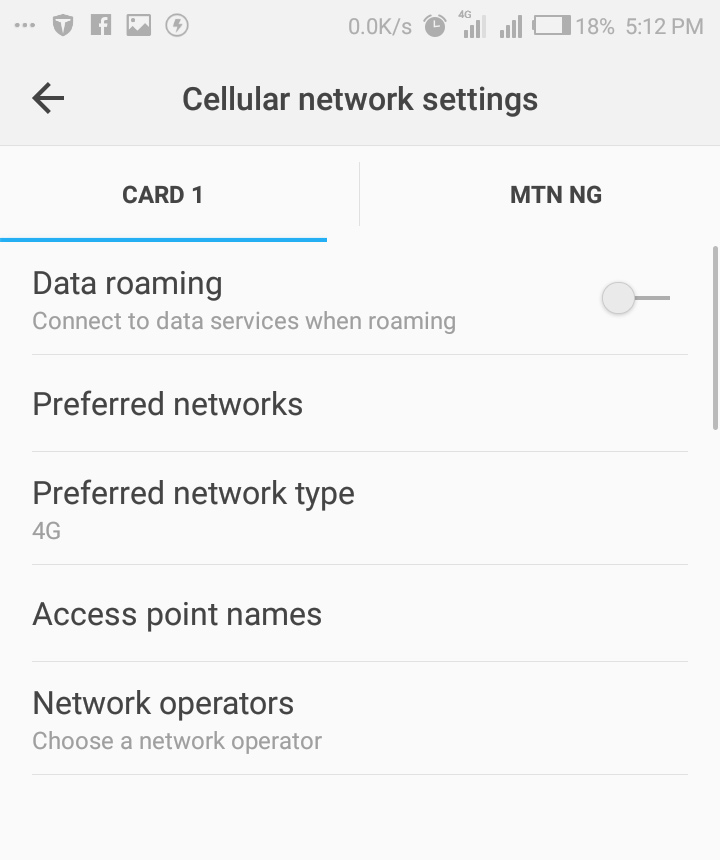
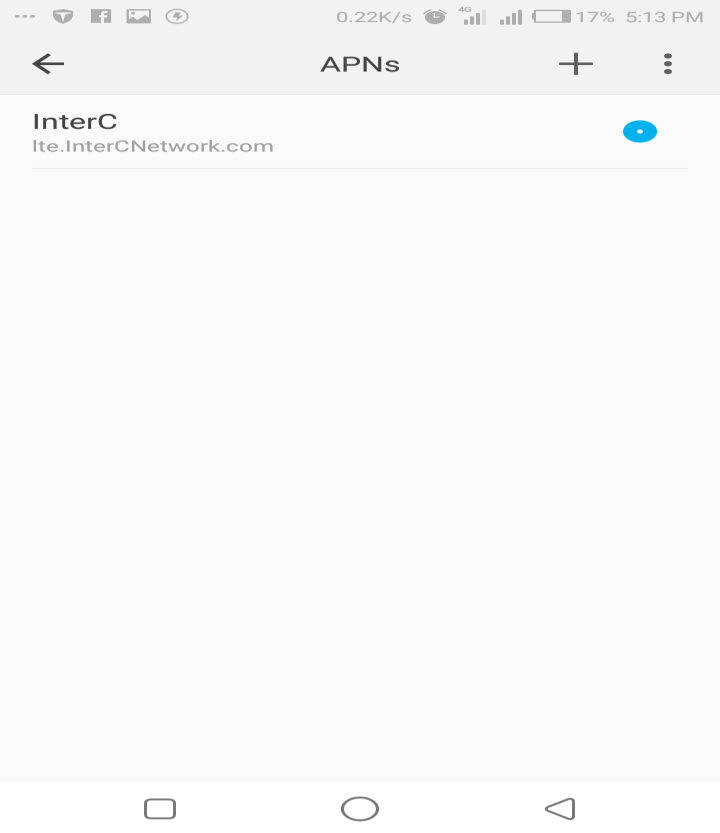
Step 7: In the Cellular Network settings open Access Point Names (APN) Click the + sign and configure InterC Network APN i.e lte.InterCNetwork.com as shown in the snapshot below. Ensure you configure the APN correctly as illustrated otherwise the mobile cannot register on InterC Network. You are also required to save (using the dotted lines) after entering the APN.
Step 8: In Step 6 above set the preferred Network to 4G and then click on Network operators and search for available networks and register on InterC 4G or 62122 from the list of the available Networks and you will receive a message that you are successfully registered on the network.
Step 9: Check the phone home page to verify that you are successfully registered.
-
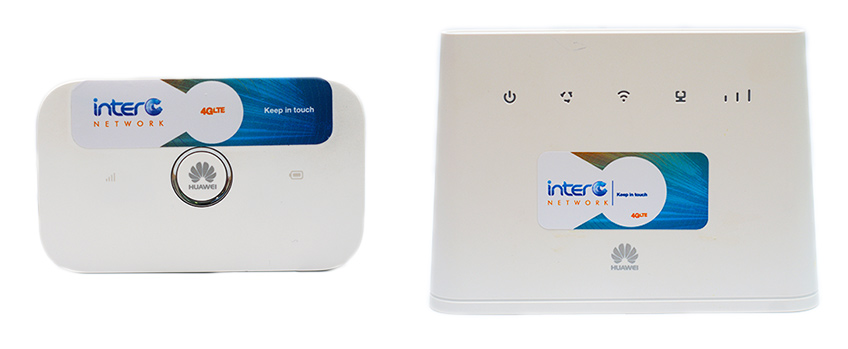
Setting up Huawei Routers/Mifi
SIMPLE PROCEDURE FOR CUSTOMISING MIFI/ ROUTER
Dear customers,
Please follow the five easy steps below to help you configure your APN (Access Point Name) on your mifi or router in order to be able to register on InterC Network4G MIFI/Router:
Step 1: Pre-requisite:
- Ensure InterCNetwork service is available
- Ensure the SIM is provisioned on InterCNetwork
- Ensure the mobile phone is 4G enabled
Step 2:
Connect the device to your laptop via WIFI or desktop using the device USB Cable. Open your internet explorer type the generic Huawei device IP address ie 192.168.8.1 (http://192.168.8.1/html/home.html). Thus
The following window will be shown;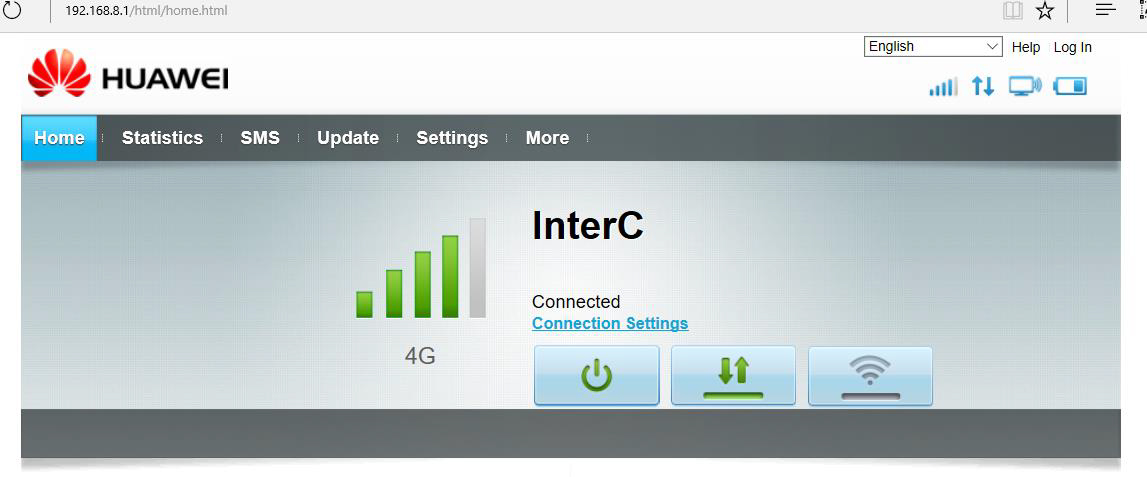
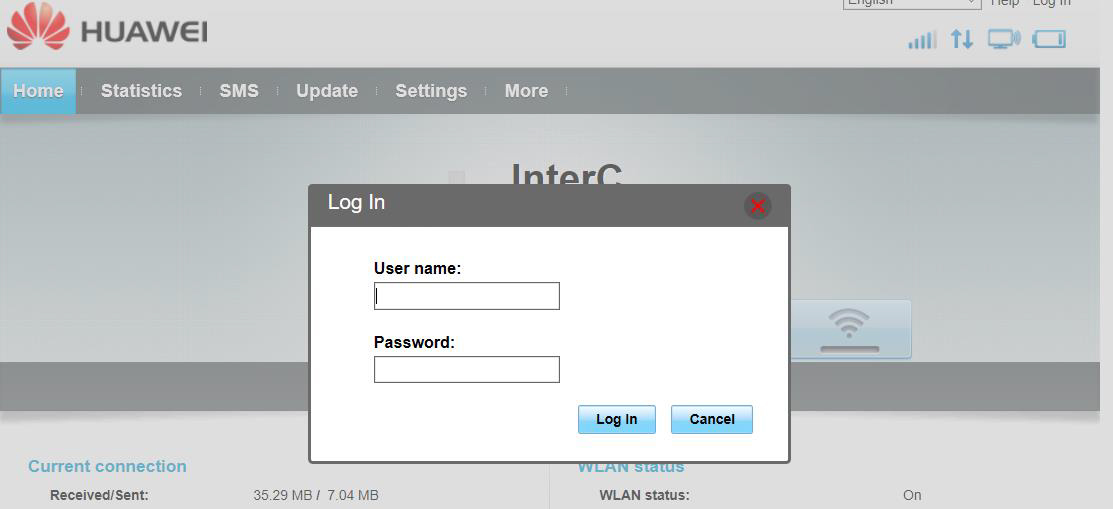
Step 3: Click on settings to configure the APN, another window will popup requesting you for user name and password. Username: Admin Password: Admin.
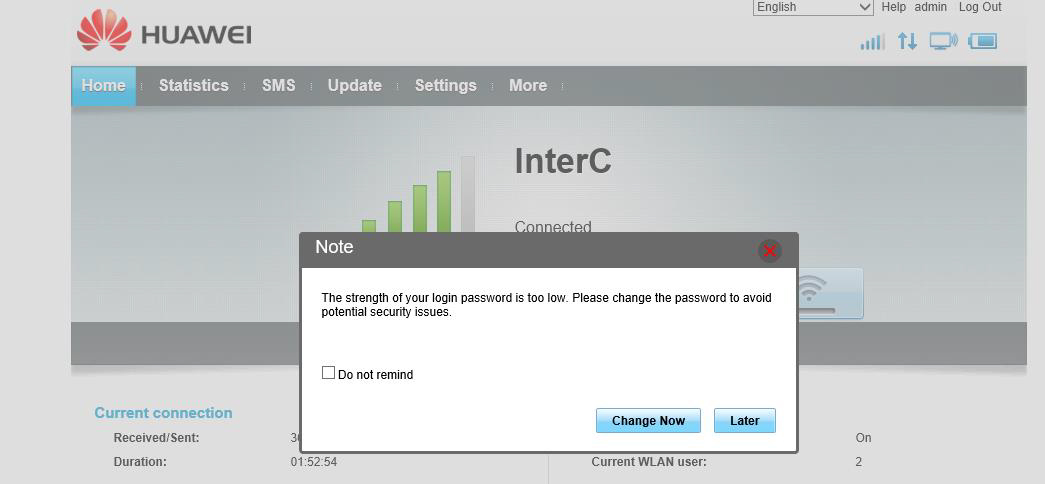
Click Later when ask to change the password, see below:
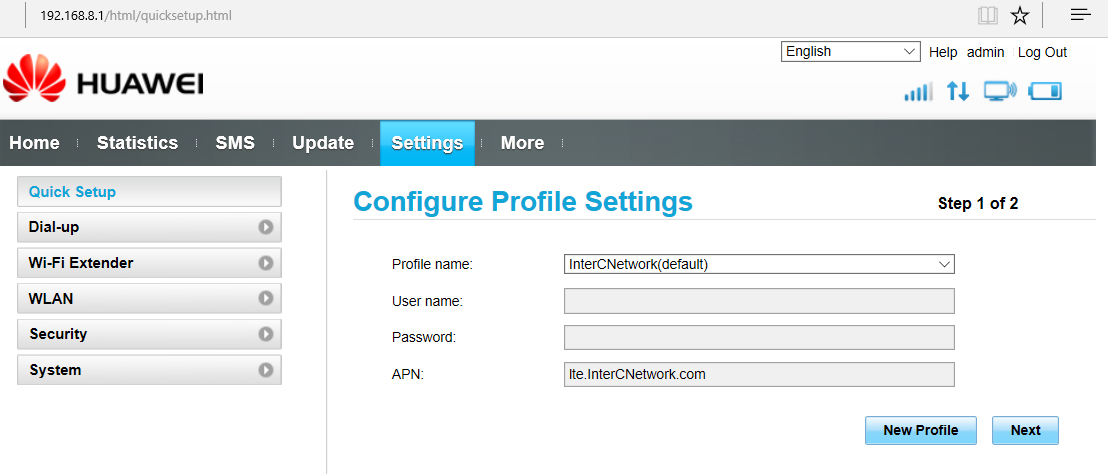
Step 4: On the Configure Profile settings window click on new profile to configure the Profile name and the APN as shown below; Click next to go to the Configure WLAN settings.
Step 5: You can customise Device name WIFI Key (SSID and WPA pre-shared key) on the below window and then click finish.
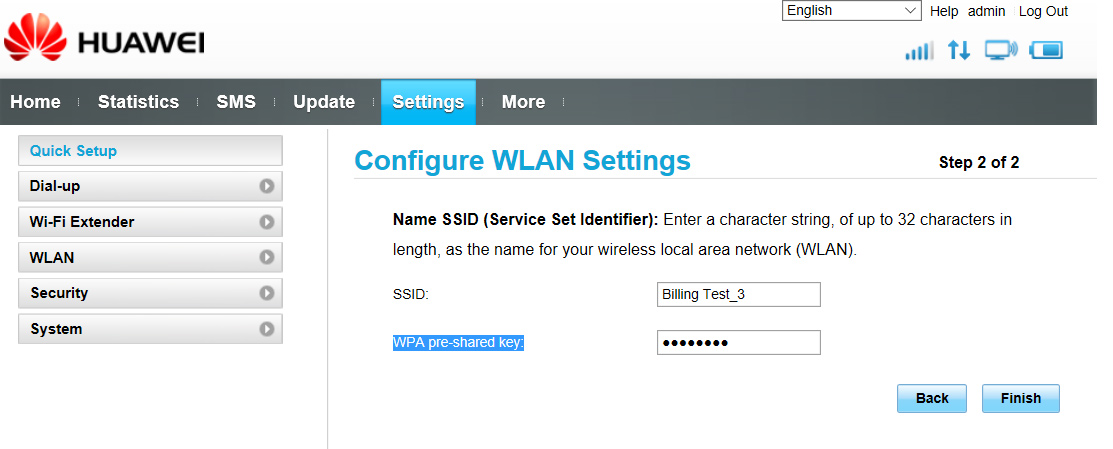
Note: After clicking finish the device will be disconnected. Reconnect to verify your changes.
-
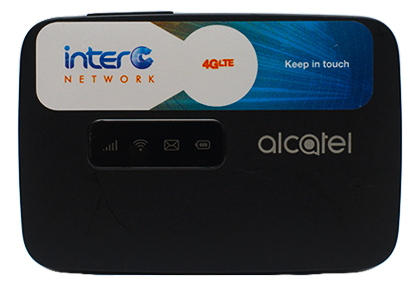
Simple Procedure for Customising Alcatel Mifi
Dear customers,
Please follow the nine easy steps to help you configure your APN (Access Point Name) on your Alcatel mifi in order to enable your registration on InterC Network.
Step 1: Pre-requisite:
- Ensure InterC Network service is available
- Ensure the SIM is provisioned on InterC Network
- Ensure it is Alcatel MIFI 4G device
Step 2: Connect the device to your laptop via WIFI or desktop using the device USB Cable. Open your internet browser and type the generic Alcatel device IP address ie 192.168.1.1 (http://192.168.1.1/html/home.html).
Thus:
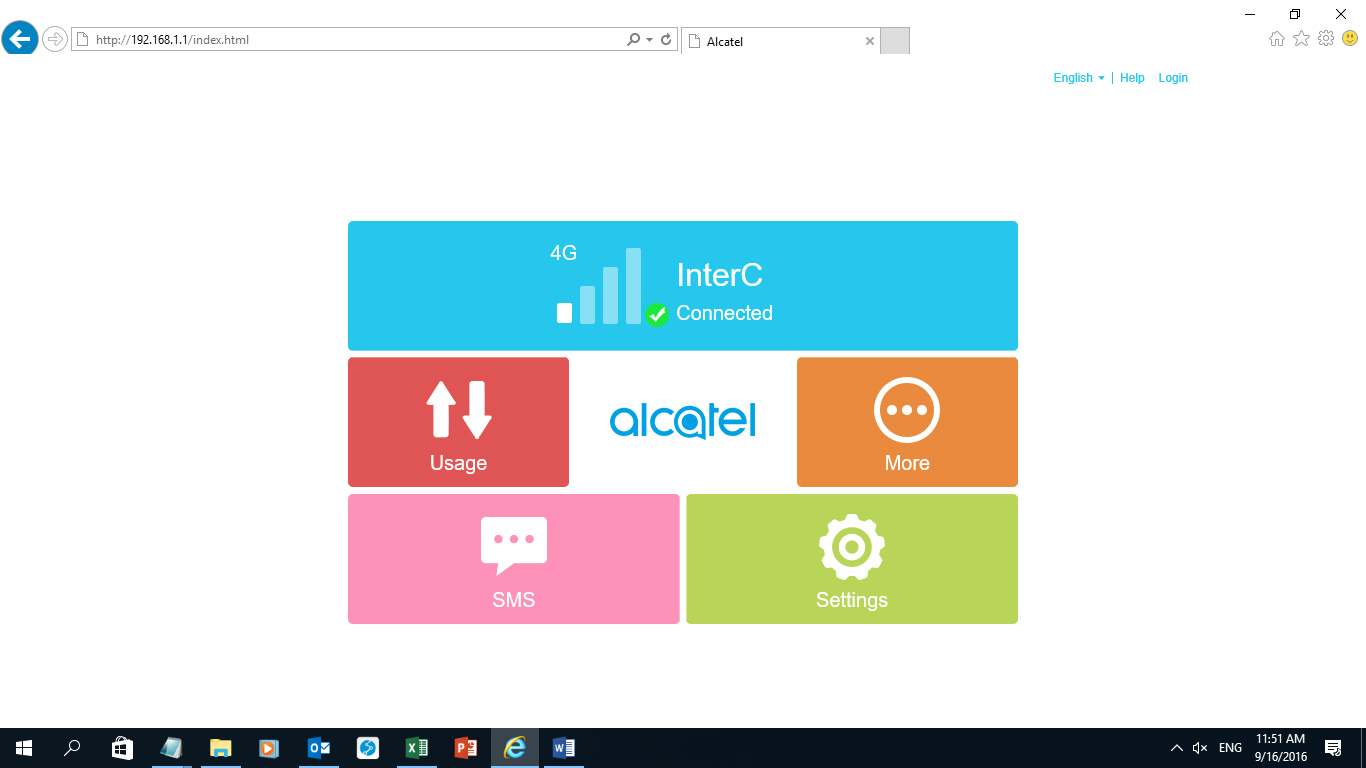
Step 3: Click on settings and enter the password on the popup window below and click; the password is admin in lower case.
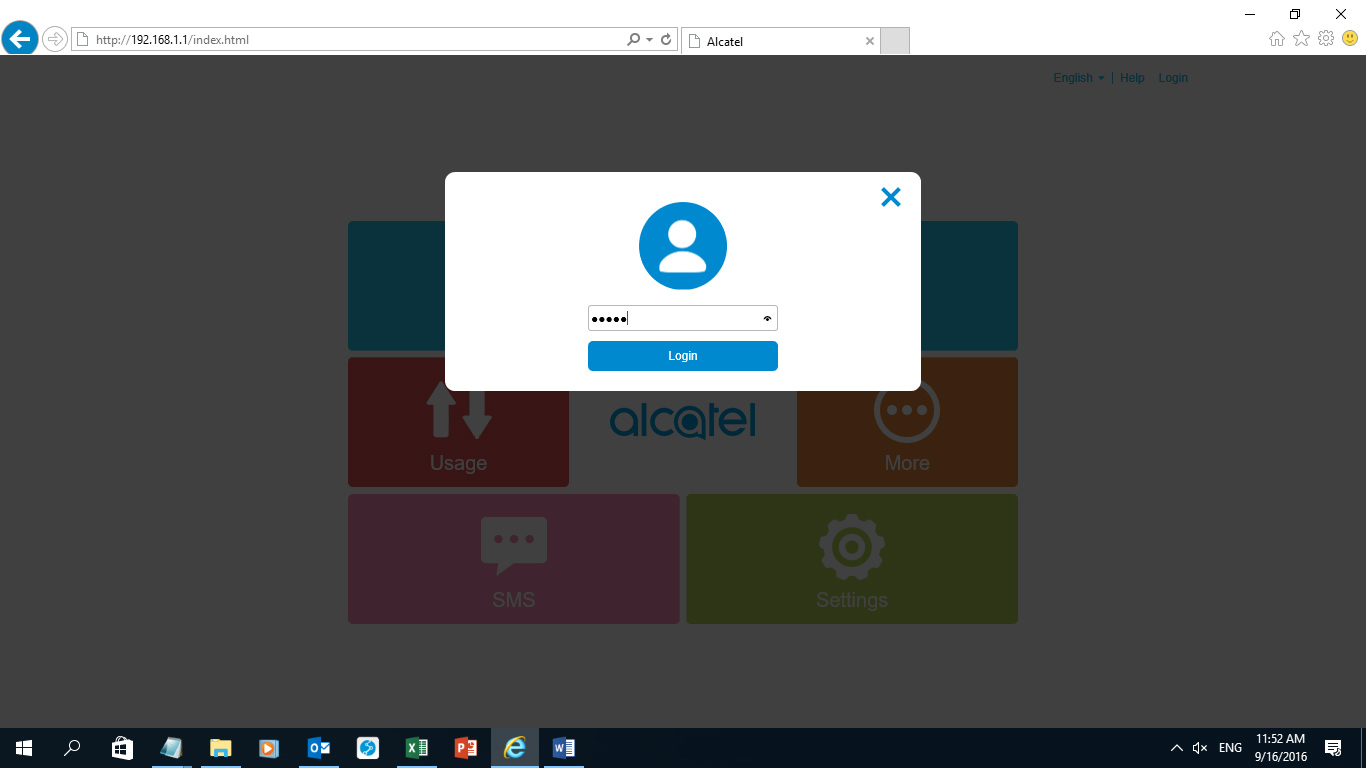
The below settings menu will be displayed;
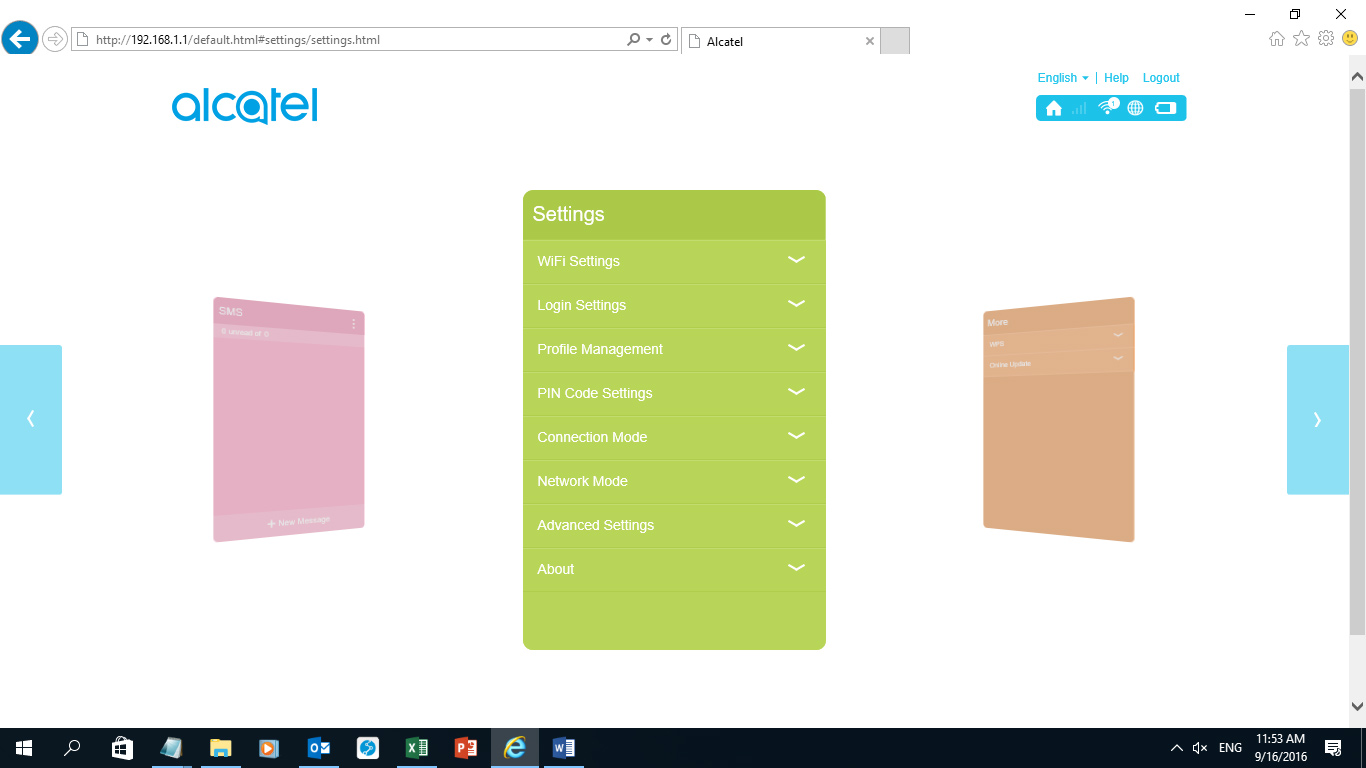
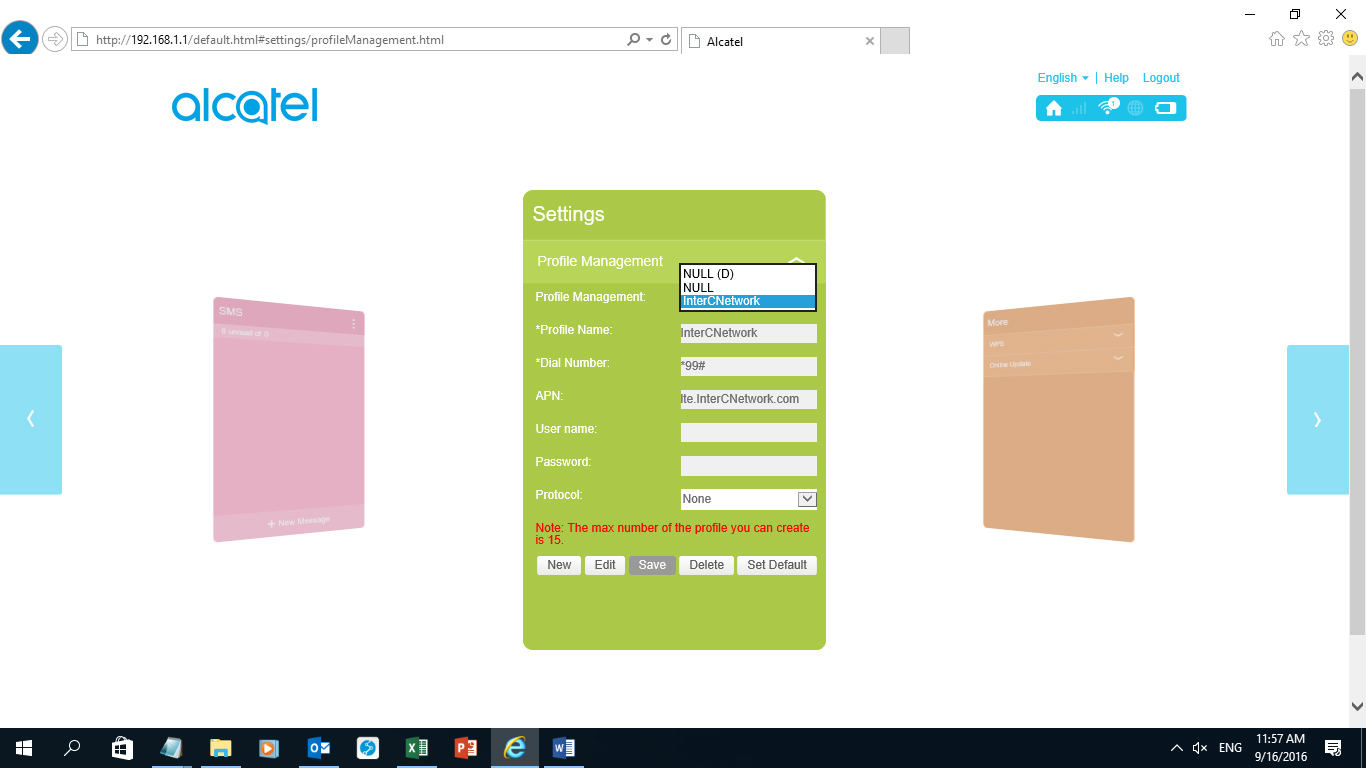
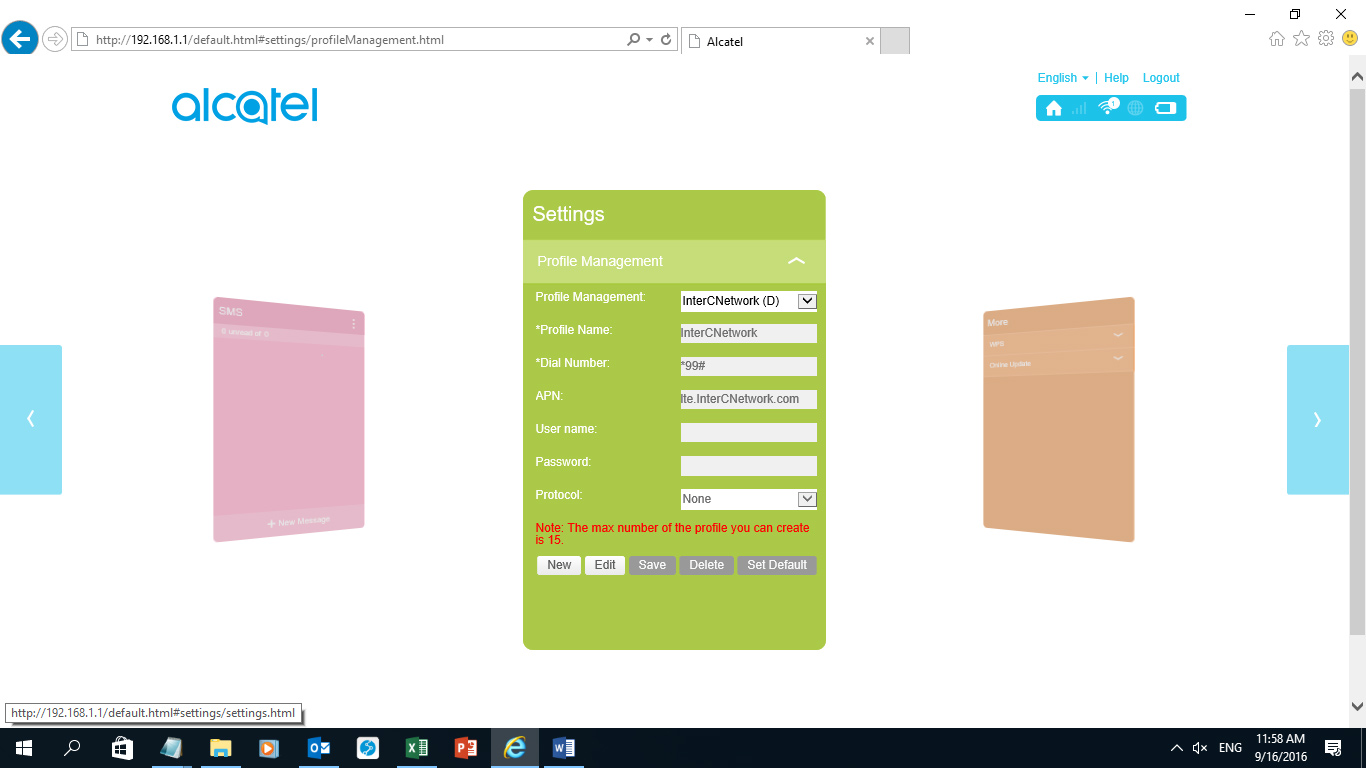
Step 4: Click on Profile Management to configure InterC APN i.e lte.InterCNetwork.com as shown below;
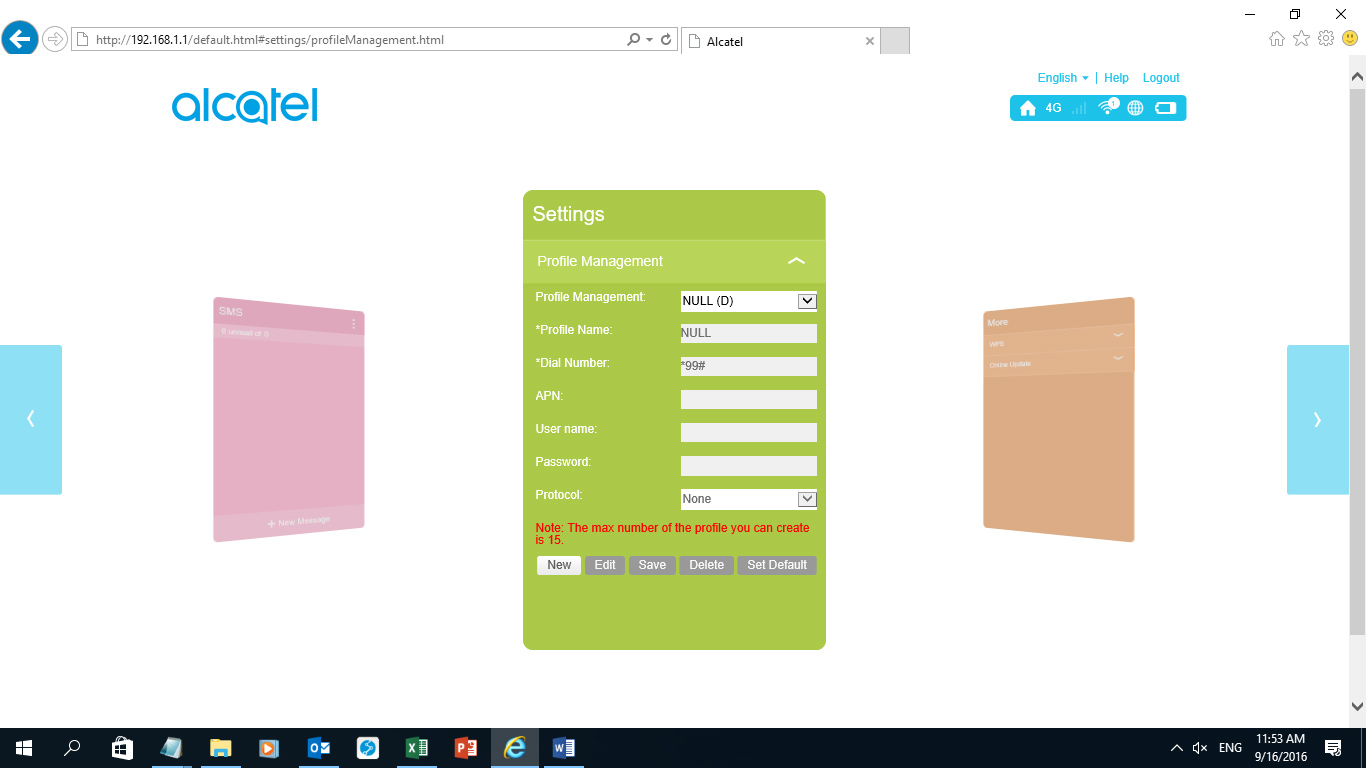
Step 5: click on New and configure the profile name, Dial number and APN fields
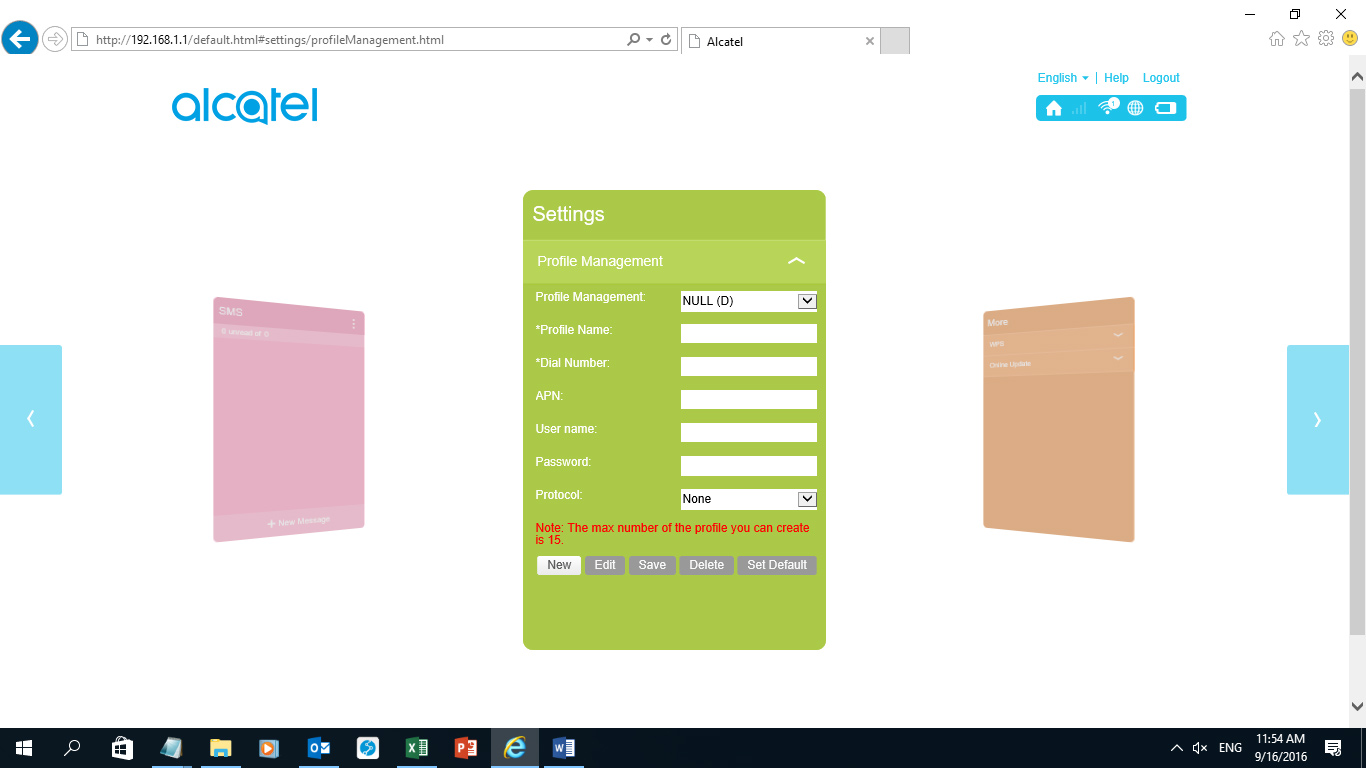
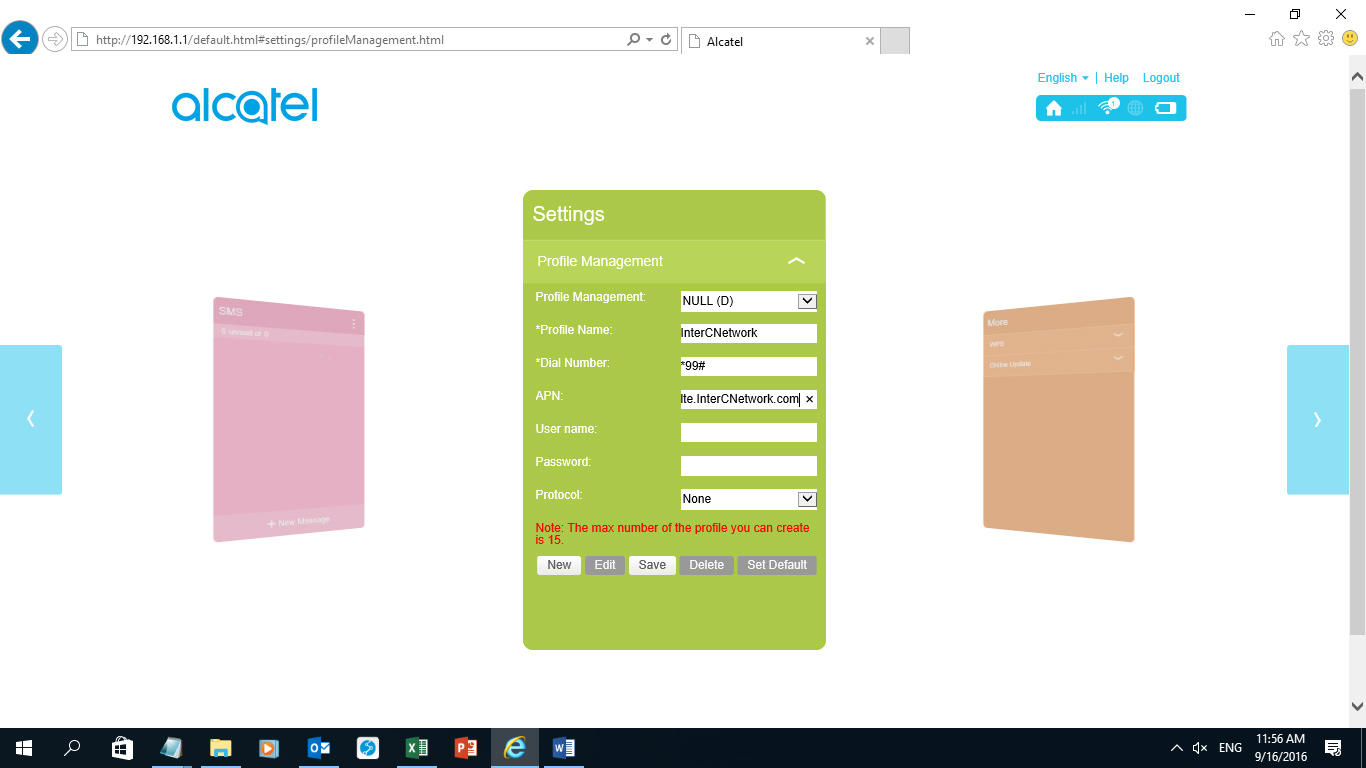
Profile name: InterC Network
Dial number: *99#
APN: lte.InterCNetwork.com
See the illustration in the below snapshot:
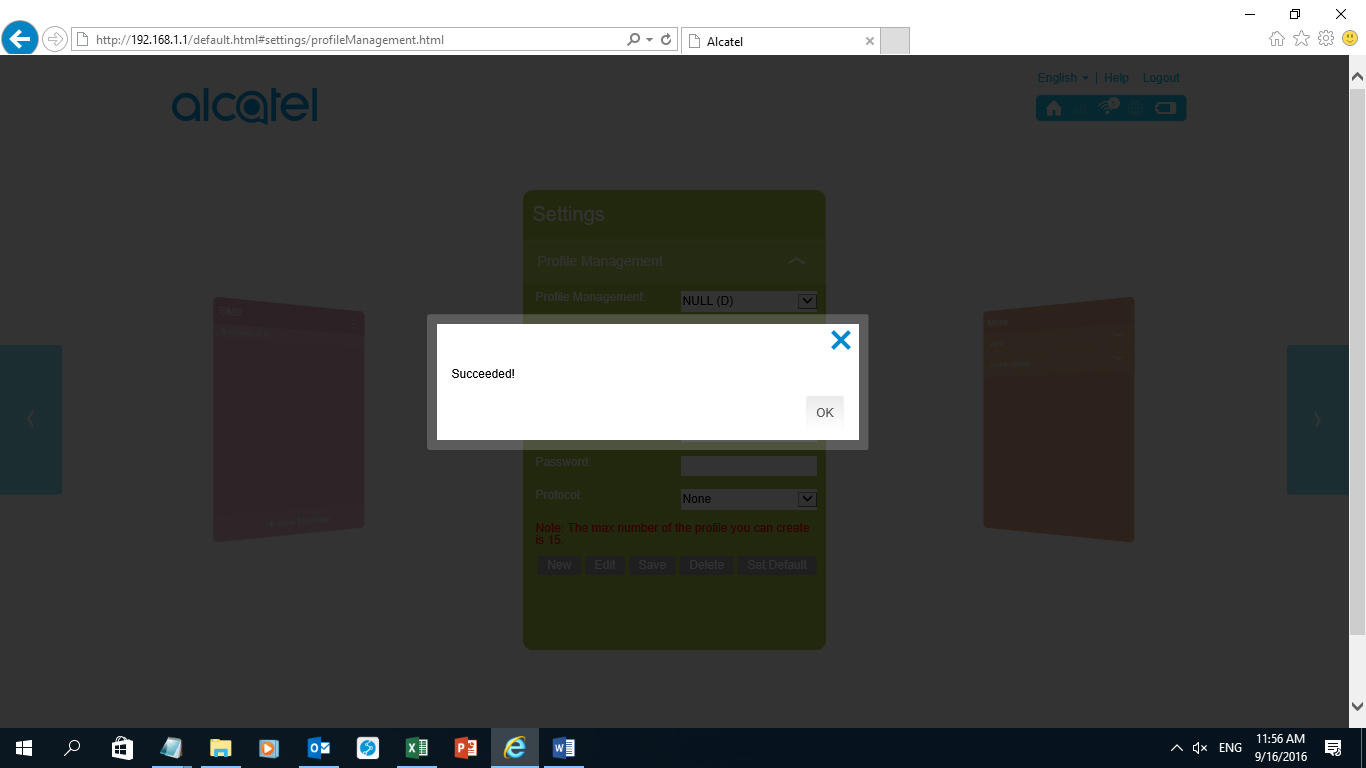
Step 6: Click on the save tab to save your entries and then click ok.
Step 7: Click the profile Management tab and set InterC Network profile name as default as illustrated below:
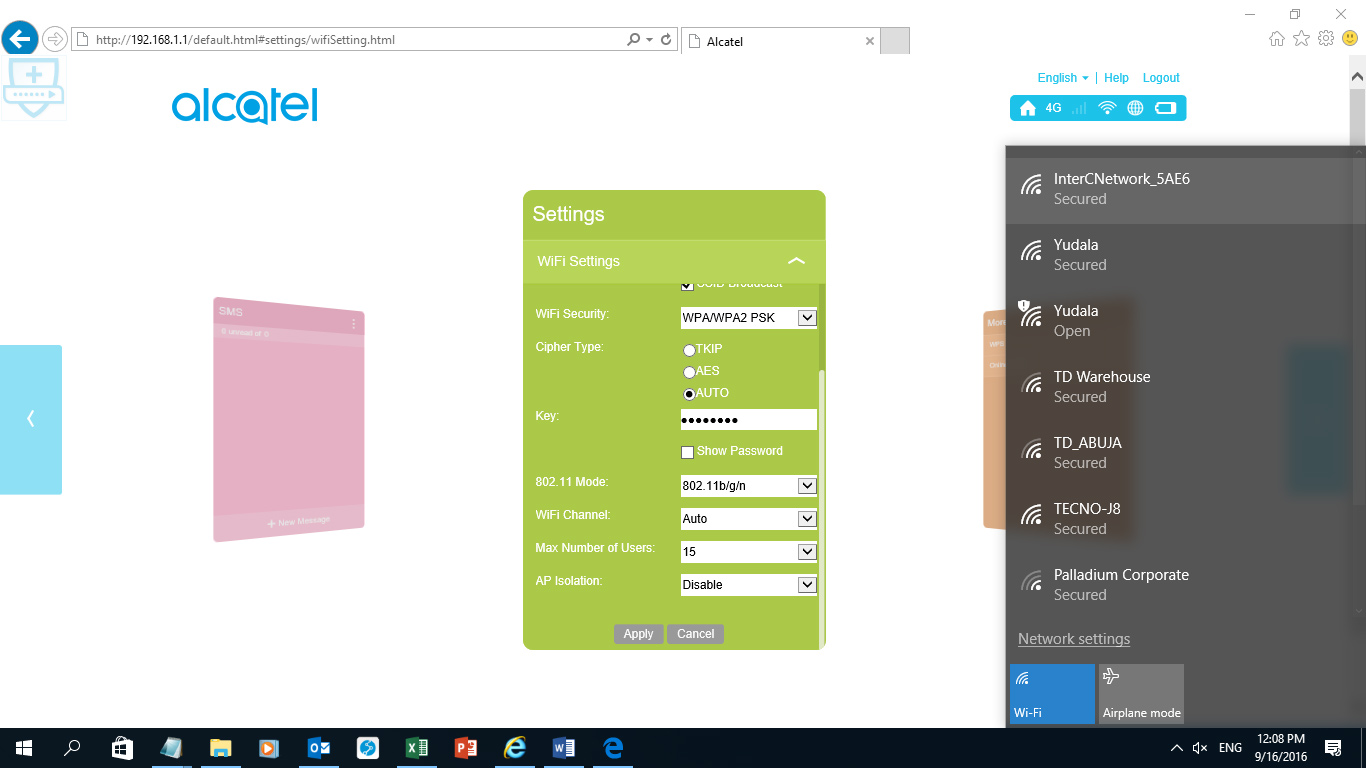
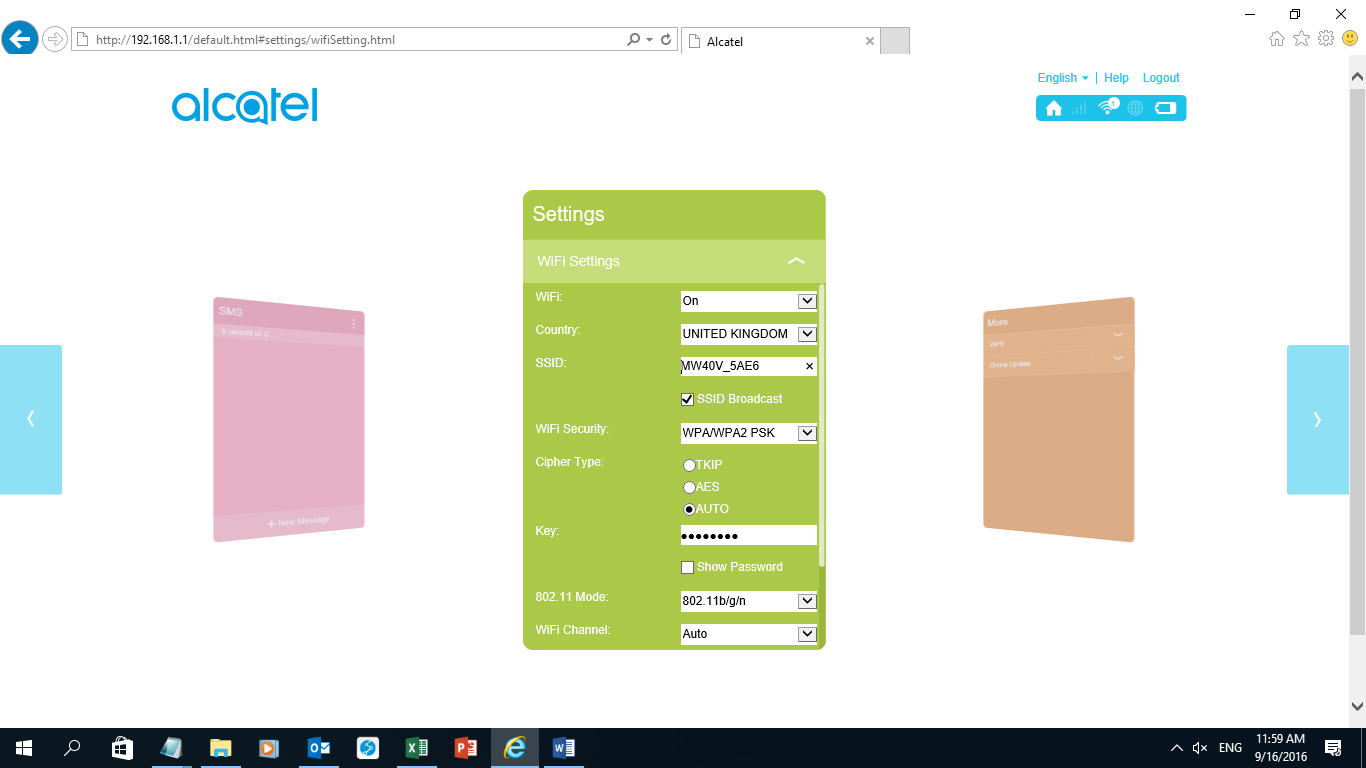
Step 8: Still on the setting menu click on the WIFI setting to change the device name MV40V_ to InterCNetwork_.
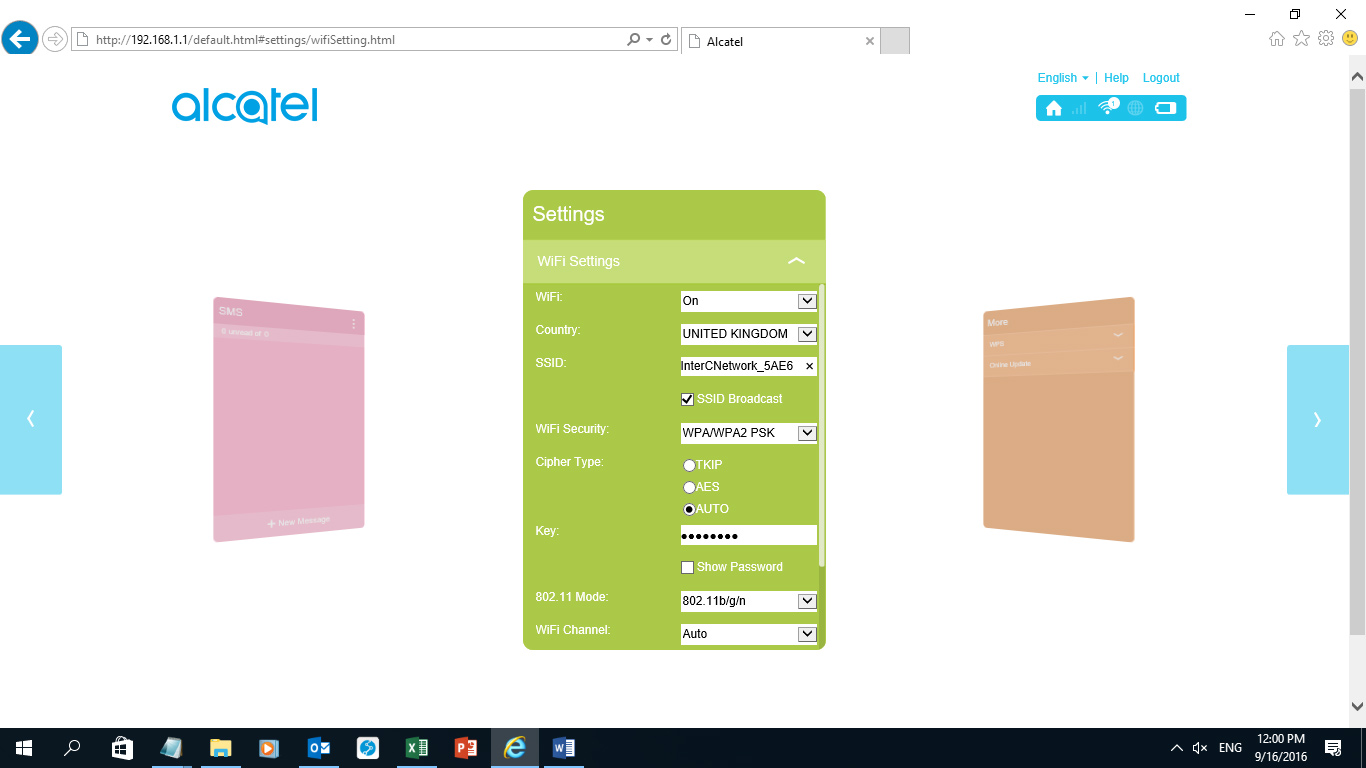
Step 9: On the same page above scroll down and click apply to effect the name change.
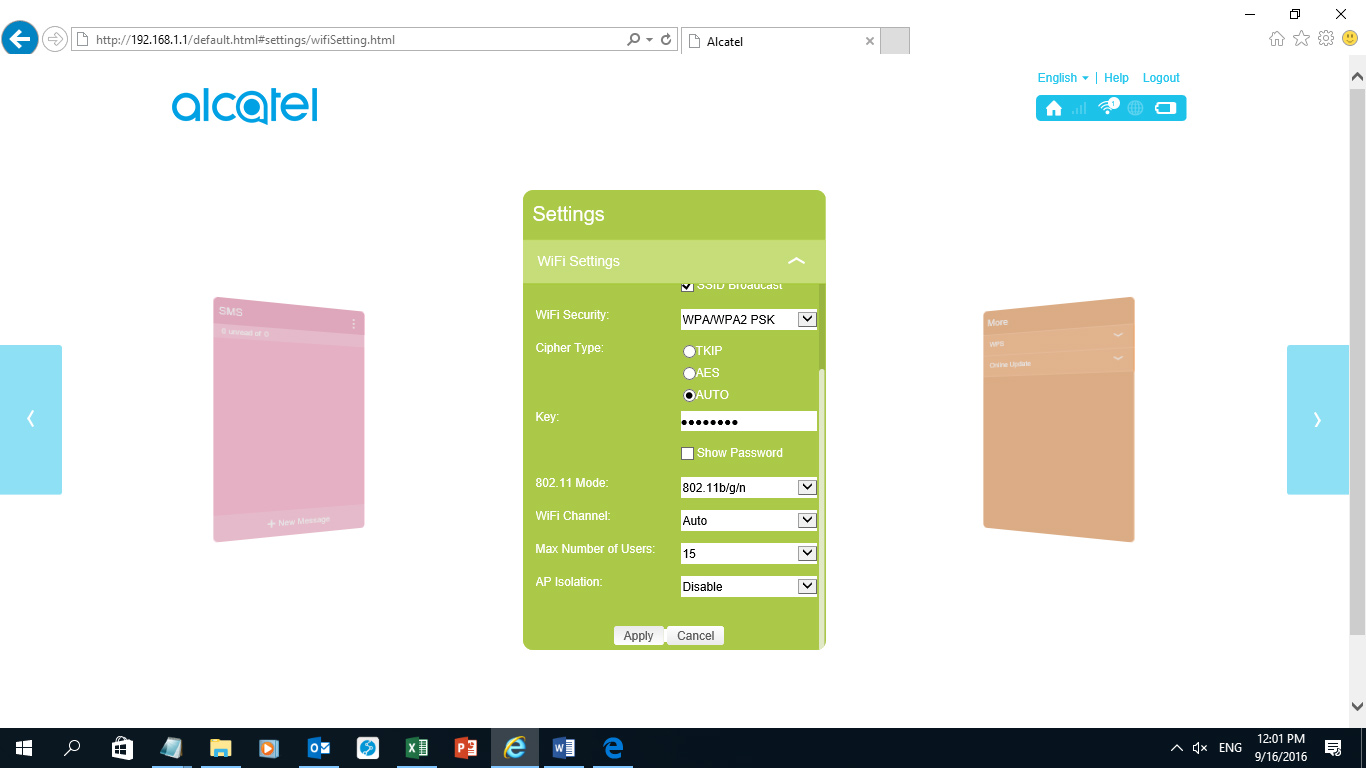
Once you click apply a warning popup window will appear, once you click ok success prompt will be displayed.
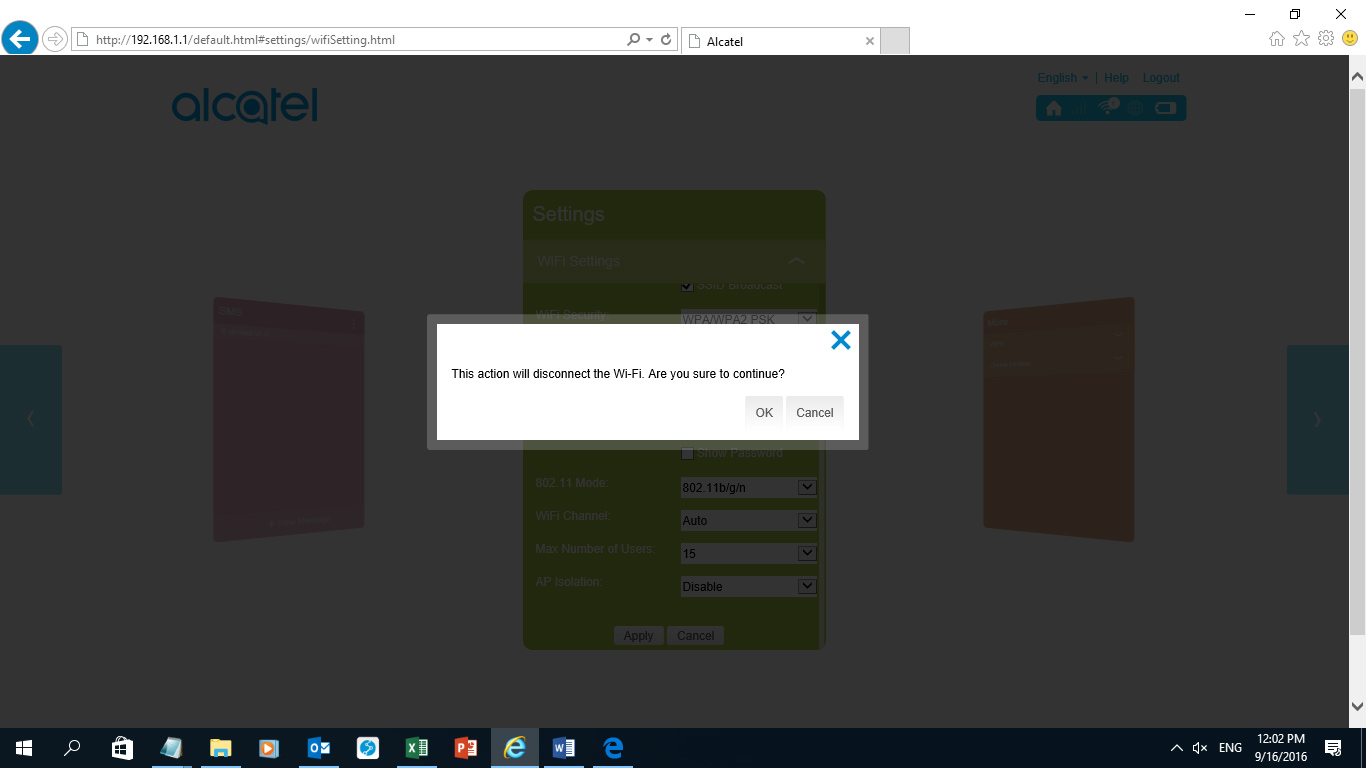
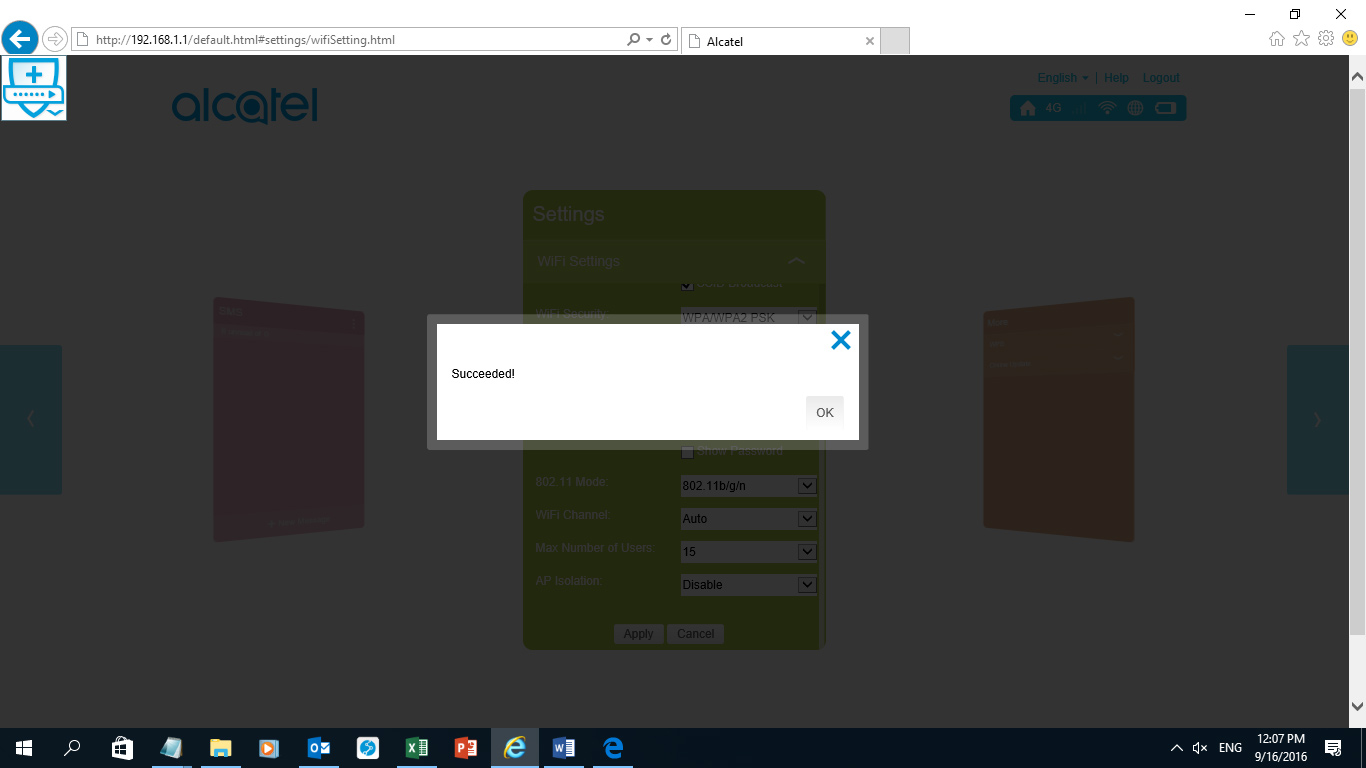
Reconnect to the device to confirm the changes made. Try to go to any website to confirm you can browse with device.
